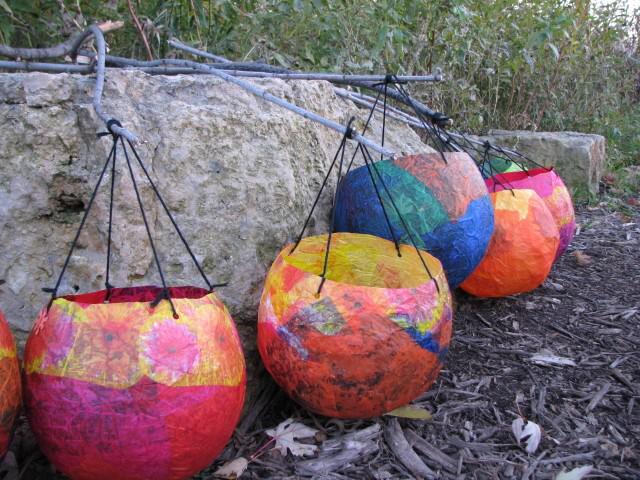
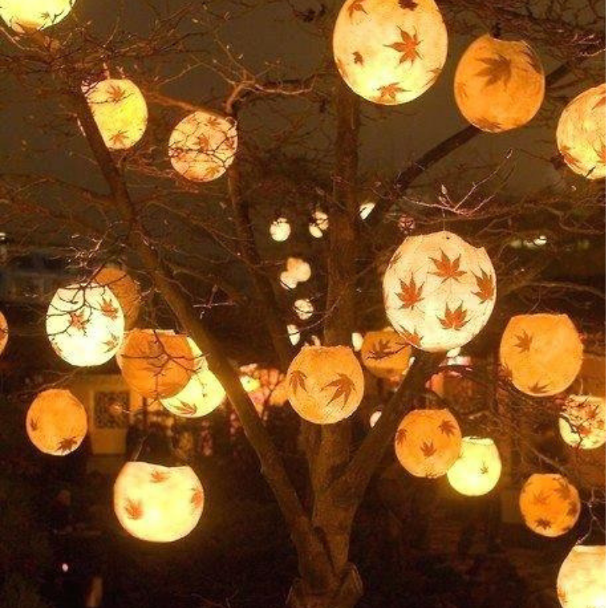
Papier Mache Lantern – Two Lessons.
Lesson 1.
We are going to be making lanterns out of material we have here at the school. Some of it would have been recycled but we are using it instead so we don’t waste brand new materials. Who knows what this kind of thinking is called? (Sustainability)
MATERIALS
- Newspaper to protect table
- Smocks on students
- White balloons, enough for all students blown up in advance
- Largish round plastic containers or clean plastic plant pots to hold balloon while it has paper/glue applied (for students that need support)
- Masking tape to attach balloon to plastic tub for stability and label balloon with name
- White butcher paper, some ripped into strips as example
- PVC Glue, 1:1 water/glue to make it runny
- Tissue paper cut into roughly 10cm squares
METHOD
Demonstrate papier mache process.
- Write your name on one piece of sticky tape and tape to balloon.
- Rip paper into thin strips, about as wide and long as a banana.
- Dip one piece at a time white paper into glue dish then smooth paper onto balloon from top working down toward the tied end of the balloon.
- Don’t papier mache over the tub if youre using one. If the edge of the paper isn’t straight, don’t worry, you can cut it when it is dry.
- Try not to make the papier mache too thick because it will take a long time to dry.
- When finished first layer, go over balloon again applying paper strips across balloon.
- Place balloon by the window to dry in the sun.
- Put the lid on your glue pot, stack white paper in middle of table for next class.
- Hang up your smock.
Video available to students that need another pass at the information to free teacher up to assist students ready to make their lanterns:
DIFFERENTIATION
Streamlining - Have some papier mache balloons pre made with a thin layer of white paper glued on, down to halfway (or completed). Students requiring an easier process could add the second layer of paper.
Extension – ask students to build up thin strips of paper to create a straight or curved ridge around the narrow end of the balloon.
ASSESSMENT
Formative assessment takes place during the lesson as students navigate applying the glue and paper to their balloon.
Lesson 2.
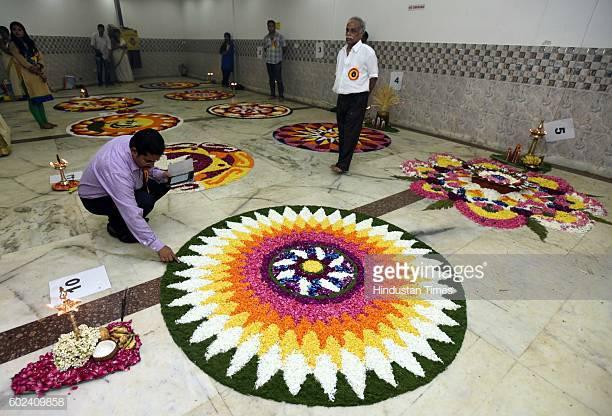
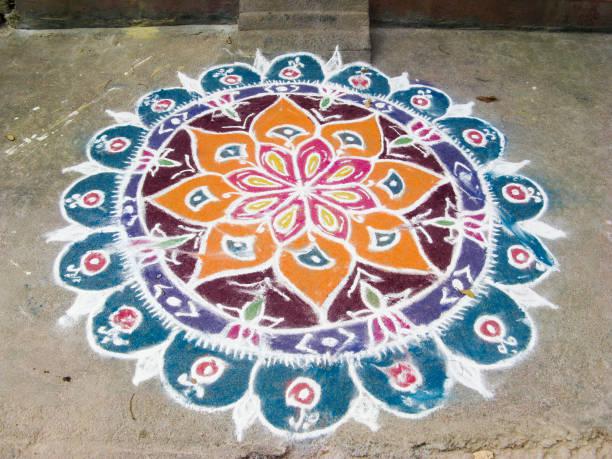
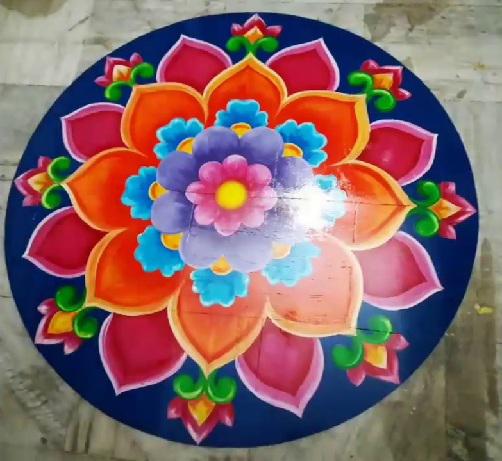
Indian traditions/Indian colours. Show pictures of Rangoli designs, saris, artwork and temples. (Learning about Asia and Australia’s engagement with Asia).
- What do you notice about the colours that have been chosen?
COLOUR LESSON
Let’s think about colour and colour schemes for a minute. (Have a selection of coloured papers to put out on table or hold up).
- Who knows what a colour scheme is?
Teaching about colour using questioning.
- What are the colours of the rainbow?
- What are the colours not in the rainbow?
- If we look at this colour wheel who can guess what complimentary colours might be?
- If I told you purple and yellow where complimentary colours, how could you work out the other complimentary colour pairs?
- If we put purple and yellow next to each other over here and orange and yellow next to each other over here, how are the look of the colours effected?
- Does anyone know what analogous colours are?
Lay out green, blue and purple side by side and purple, red and orange side by side.
- If I told you these were analogous colours, how could you explain it to a friend?
We are going to be adding colour to our lanterns in a minute, I want you to think about what we just learnt and about the colours you want to put on your lantern.
MATERIALS
- Newspaper to protect table
- Smocks on students
- Coloured tissue paper, some ripped inot 10cm x 10cm squares as example
- PVC glue, 1:1 glue/water.
- Masking tape to attach balloon to plastic tub for stability and label balloon with name
- String
- Hole punch
- Long, straight sticks
- Battery operated flickering tea lights
METHOD
- We are going to be sticking this thin paper onto our balloon lanterns now and we need to cover up all the white. Who knows what this thin paper is called?
- Think about what colours you might like to put on your lantern, you might want an analogous colour scheme, you might want to really show complementary colour .or perhaps you have something else in mind.
- We will be sticking the tissue paper on by brushing the glue on the balloon and laying the paper on over the glue, making sure we smooth the paper down so it really sticks well. Remember if you stick many layers of colour over the top of each other, the colours won’t look as bright (demonstrate by holding up a few different colours of tissue paper) and the thicker the lantern the less the candle light will shine through.
- Then we will need to let our balloons dry again which shouldn’t take as long as the tissue paper is thin and we didn’t need to use so much glue.
- There will be two ways we can use our balloons in the performance, if you are performing with your lantern during the drumming, you will be tying your balloon with string so it can hang from the end of a stick so it looks like it is floating in the performance. If you are dancing with your lantern, you won’t need to worry about this part.
DIFFERENTIATION
Streamlining – provide students with long handle brush and paint to decorate their balloon.
Extension – For the students that require extra challenge, provide them with reference material of Rangoli designs for inspiration and direct them to design a border pattern for their lantern to apply to the tops edge.
ASSESSMENT
Students explaining what their colour choice was and why they selected the way they did provides summative assessment.
Follow these links to:
© Copyright Ingrid Schmidt